Helpful Tips For Detailing Your Car At Home
You spend a lot of time inside your car, and you want it to be clean – really clean. And we’re not just talking about running it through the automatic car wash or using your hand vac to suck up the crumbs left from the kids’ road snack. Sometimes, a thorough detailing is in order. You can pay upwards of $300 for a professional detailing service, but if you’re seeking a more affordable option, then the DIY detailing approach can be the perfect solution.
It’s All in the Details
You’ll save yourself a bundle of money by taking on this job yourself. And despite what you might be thinking, detailing your own car doesn’t require an expensive stockpile of professional equipment or cleaning solutions. In fact, you probably already have some of the tools that come in handy for micro cleaning tasks like this. Here’s what you’ll need:
- A vacuum cleaner. A powerful model with an extension hose and a variety of attachments is useful in cleaning different materials and reaching nooks and crannies.
- Cleaning products. Make sure the cleansers you use are safe for use on the materials in your car. Take stock of the materials inside your vehicle – vinyl, leather, plastic, cloth, carpet – and then make sure your cleansers are compatible. If not, specially formulated products are readily available online and in many stores.
- Towels and rags. Don’t just grab the closest dish towel and call it good enough. A broad assortment of wiping and polishing rags is best, from microfiber to terry cloth. Make sure they’re all clean and free of residue before starting your scrub-down.
- Brushes. These versatile tools can get to the dust and debris you can’t reach with an ordinary vacuum attachment. Gather them in a variety of sizes to clean out air vents and hard-to-reach spots. A stiff-bristled brush is also useful for tackling tough surfaces like carpets.
You might also like: 5 Tips For Organizing Your Car
A Clean Machine
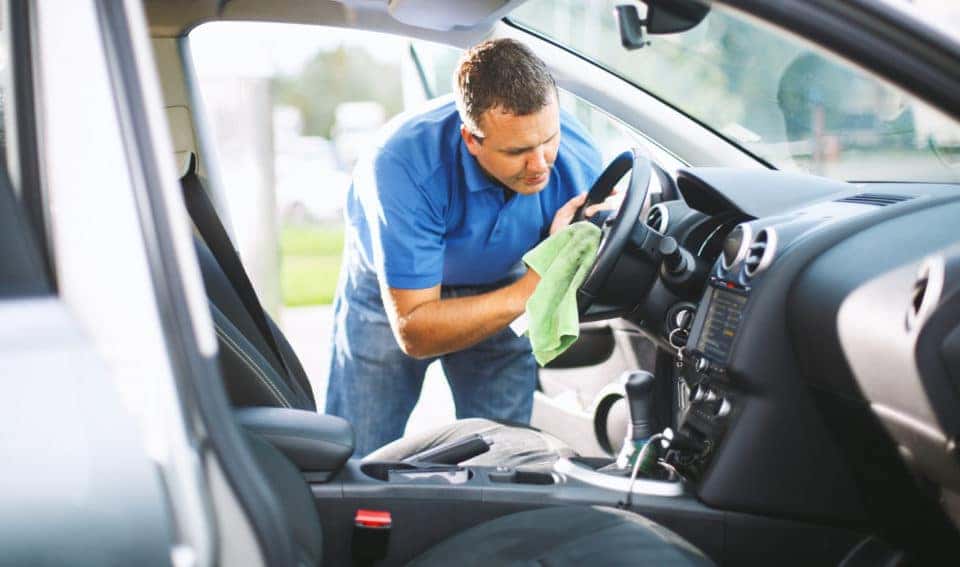
With your tools and cleansers at hand, you can dive right in to the job. Make sure to corral clutter and toss trash before you begin the nitty-gritty work. Then start cleaning from top to bottom – windows and mirrors, air vents, instrument panel, doors, and seats – saving the floor boards and mats for last. This way, falling dust and particles from above will collect on the floor, which you can tackle last of all.
A good DIY detailing can last you six to eight months and save you hundreds of dollars on professional cleaning.